Step 6
Adding the Map
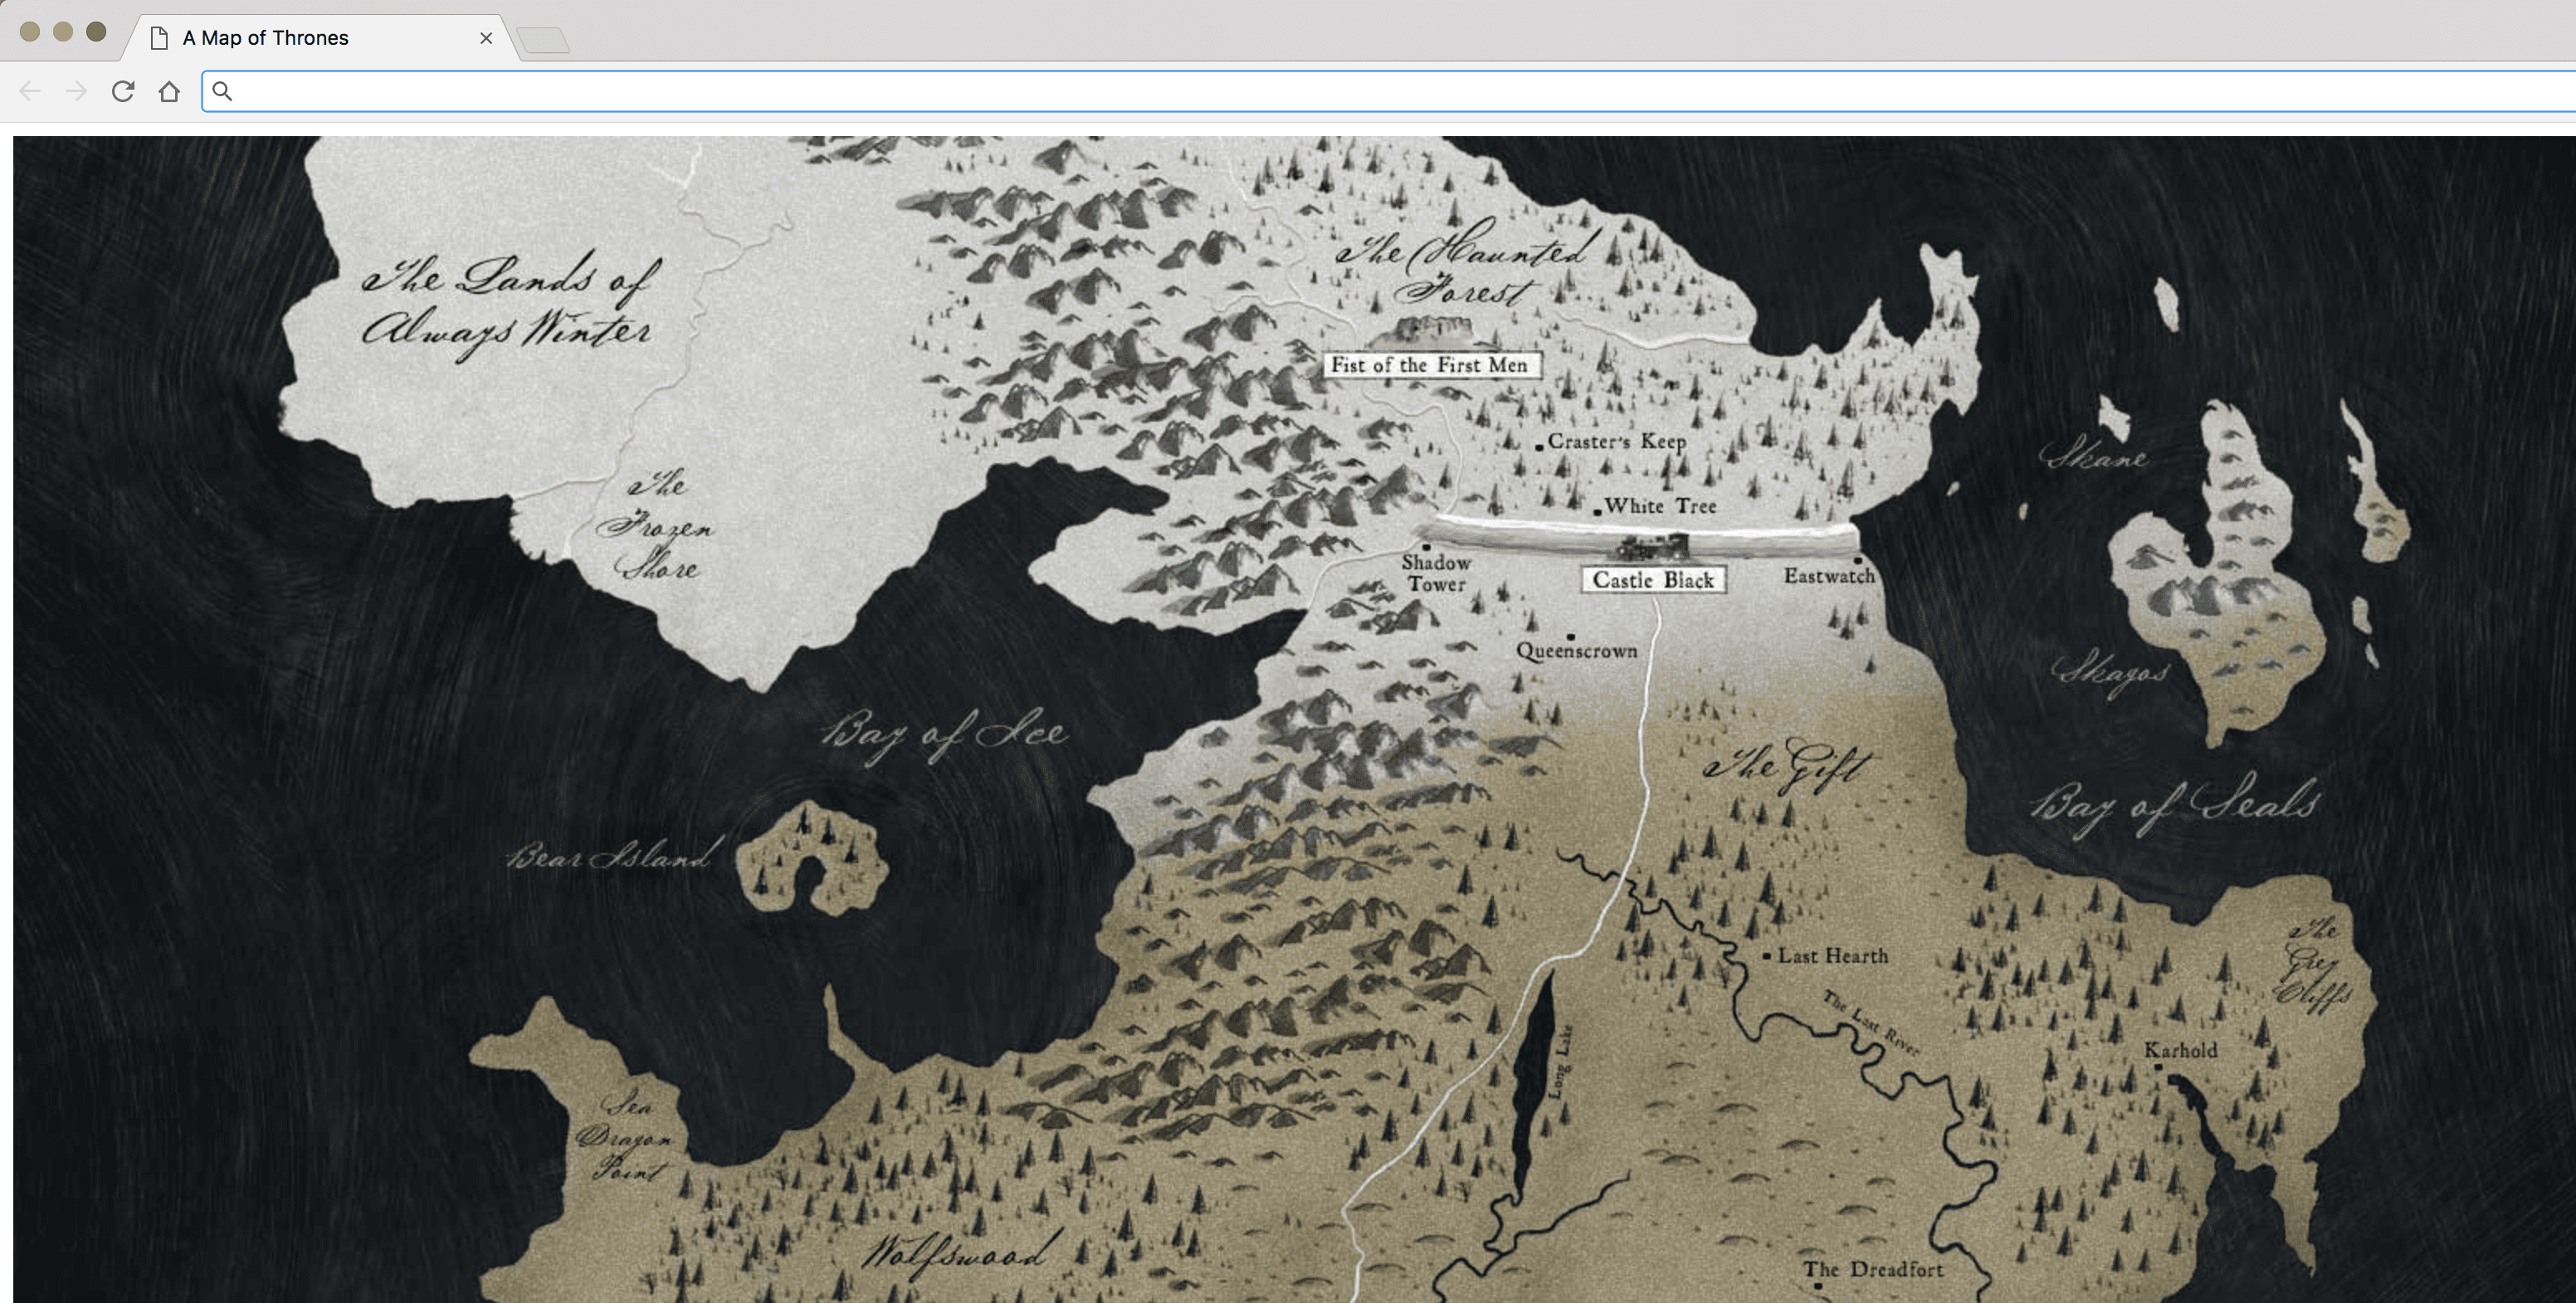
Let's now add the Westeros map graphic to our application. First of all we
will create an img directory in the ./app directory of our project and copy
the Map asset to it.
mkdir app/img
cp .assets/westeros.jpg app/img
Webpack File Loader
In order for Webpack to process images we will need to use the "file loader"
within Webpack. This allows us to import image files in our React components and
use them as the source for our <img /> tags.
We will add the file-loader dependency via yarn and configure Webpack to
copy images into our bundle.
yarn add file-loader
Next we add the following configuration to the loaders array of our
webpack.config.js:
// webpack.config.js

{
  test: /\.(gif|png|jpe?g|svg)$/i,
  loader: 'file-loader?name=assets/[name].[ext]'
}
We also add specify that we will be building images into our dist/ directory
so that Webpack builds the image paths correctly. We do this by adding
publicPath: 'dist/' to the output section of our config. The file will now
look like:
// webpack.config.js

  const webpack = require('webpack');
  const path = require('path');

  const BUILD_DIR = path.resolve(__dirname, 'dist');
  const APP_DIR = path.resolve(__dirname, 'app');
  const JS_DIR = path.resolve(APP_DIR, 'js');

  const config = {
    entry: JS_DIR + '/application.js',
    output: {
      path: BUILD_DIR,
      filename: 'bundle.js',
+     publicPath: 'dist/'
    },
    resolve: {
      extensions: ['.js', '.jsx']
    },
    module: {
      loaders: [
        {
          test: /\.jsx?/,
          include: JS_DIR,
          loader: 'babel-loader'
        }
+       {
+         test: /\.(gif|png|jpe?g|svg)$/i,
+         loader: 'file-loader?name=assets/[name].[ext]'
+       }
      ]
    }
  };

  module.exports = config;
Map Component
Now that our application can handle images we will add a <Map /> component
that will render the map image. Let's start by creating the components/Map
directory and adding an index.js file.
// app/js/components/Map/index.js

export { default } from './Map';
We will then create another stateless functional component (SFC) that will
return an image for our map. Notice that we import the image from the img
directory and pass it to the <img /> tag via the src prop.
// app/js/components/Map/Map.js

import React from 'react';

import westeros from '../../../img/westeros.jpg';

const Map = () => {
  return <img src={westeros} />;
};

export default Map;
Adding the Map to our App
The last thing to do is to render the <Map /> component within the <App />
component. Passing one component inside of another component is called "passing
children". All sub-components of a component are the children of the parent
component.
We will import Map into the <App /> component and then include in it our JSX
template as a child of the <App />, wrapped in an HTML5 <section>.
// app/js/components/App/App.js

import React from 'react';

import Map from '../Map';

const App = () => {
  return (
    <section>
      <Map />
    </section>
  );
};

export default App;
Run yarn dev to rebuild the changes, refresh index.html in the browser and
you will see the map rendered on screen.